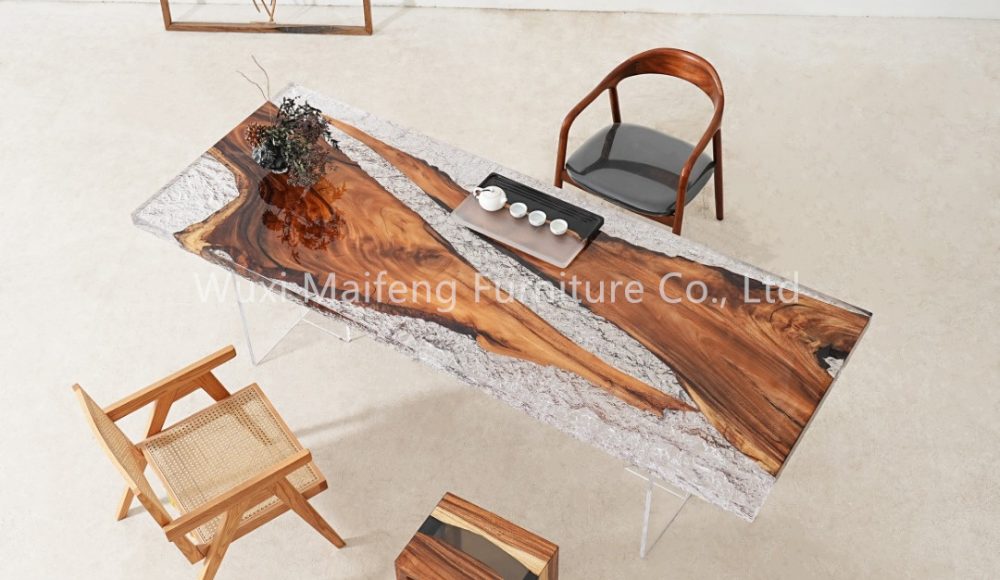
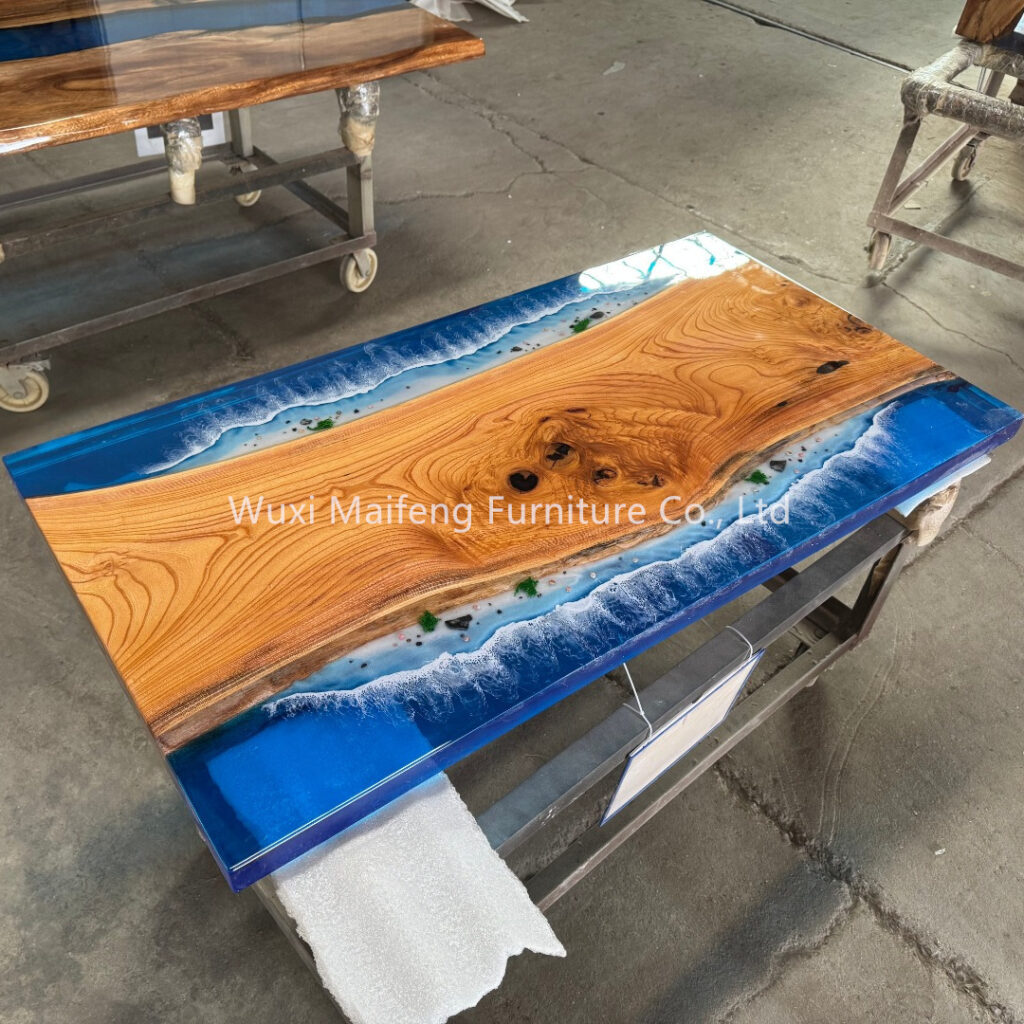
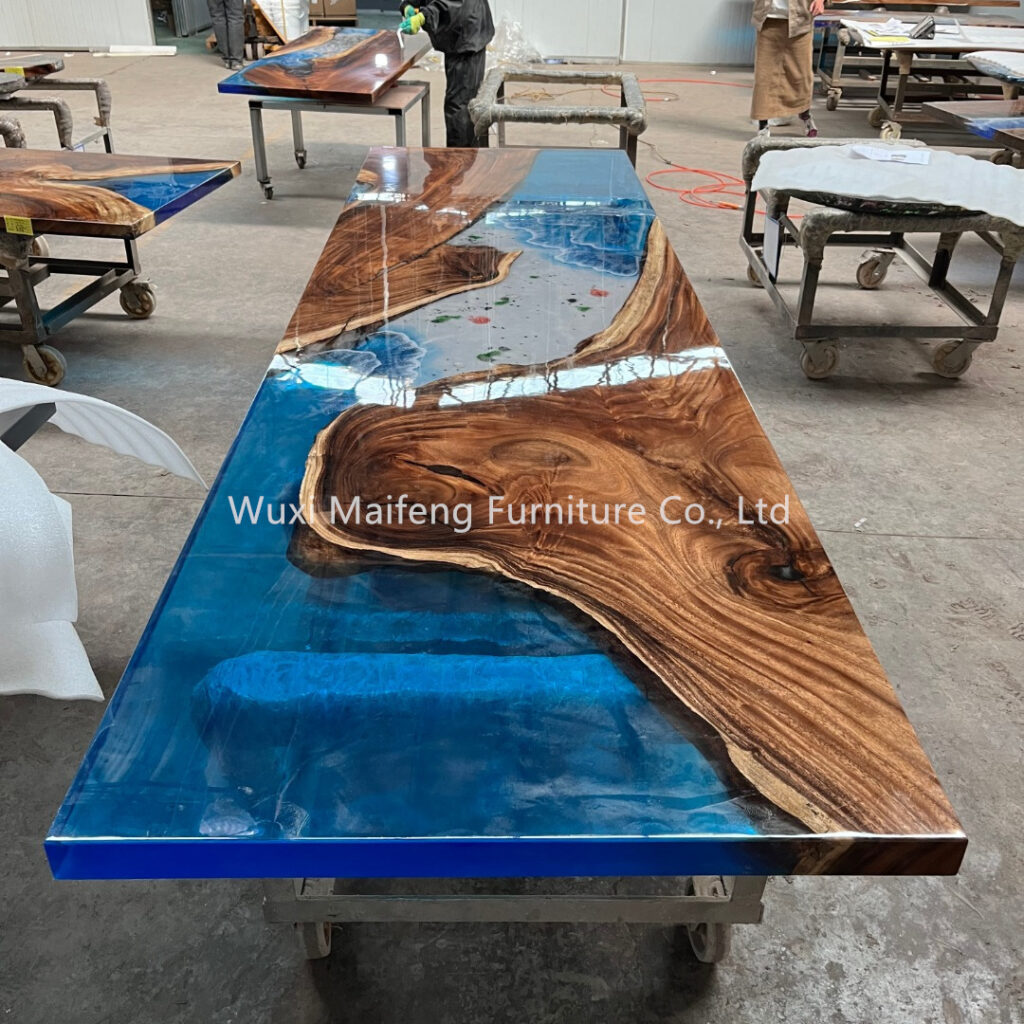
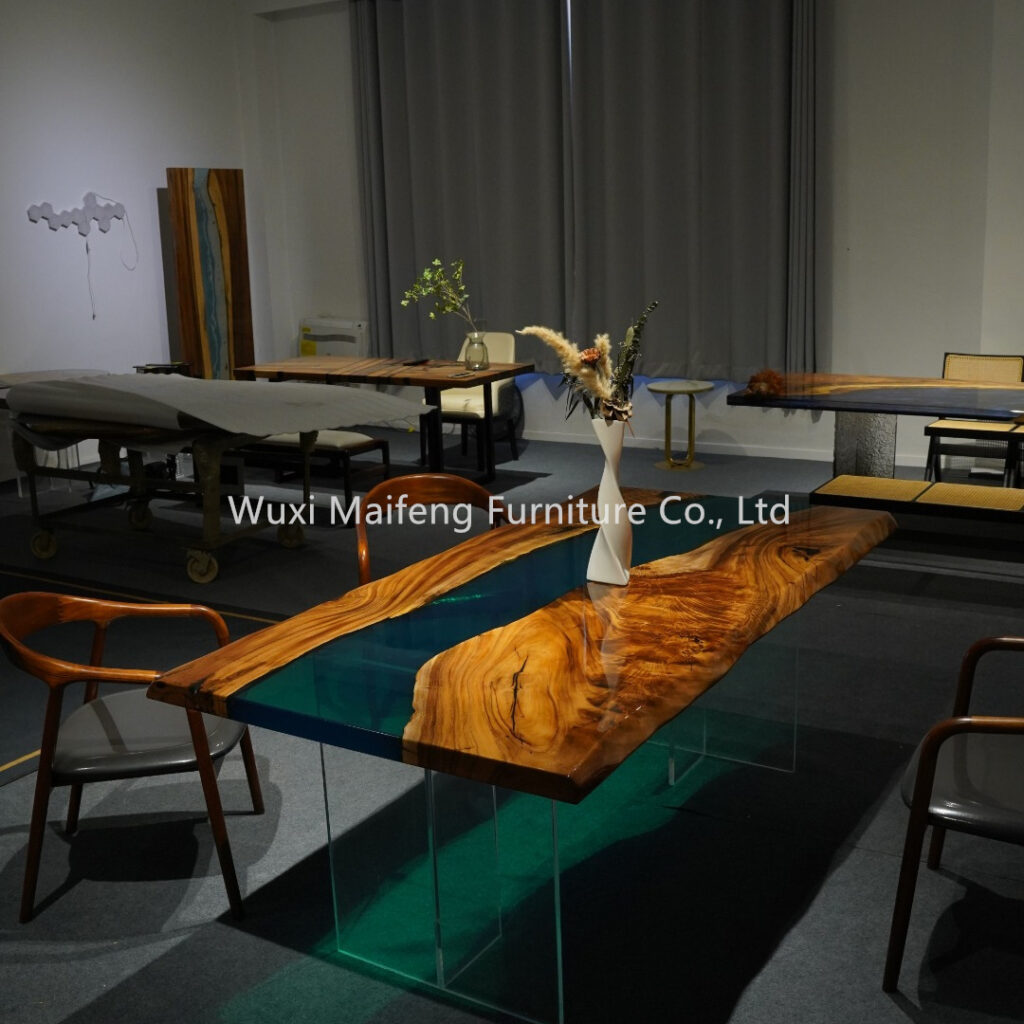
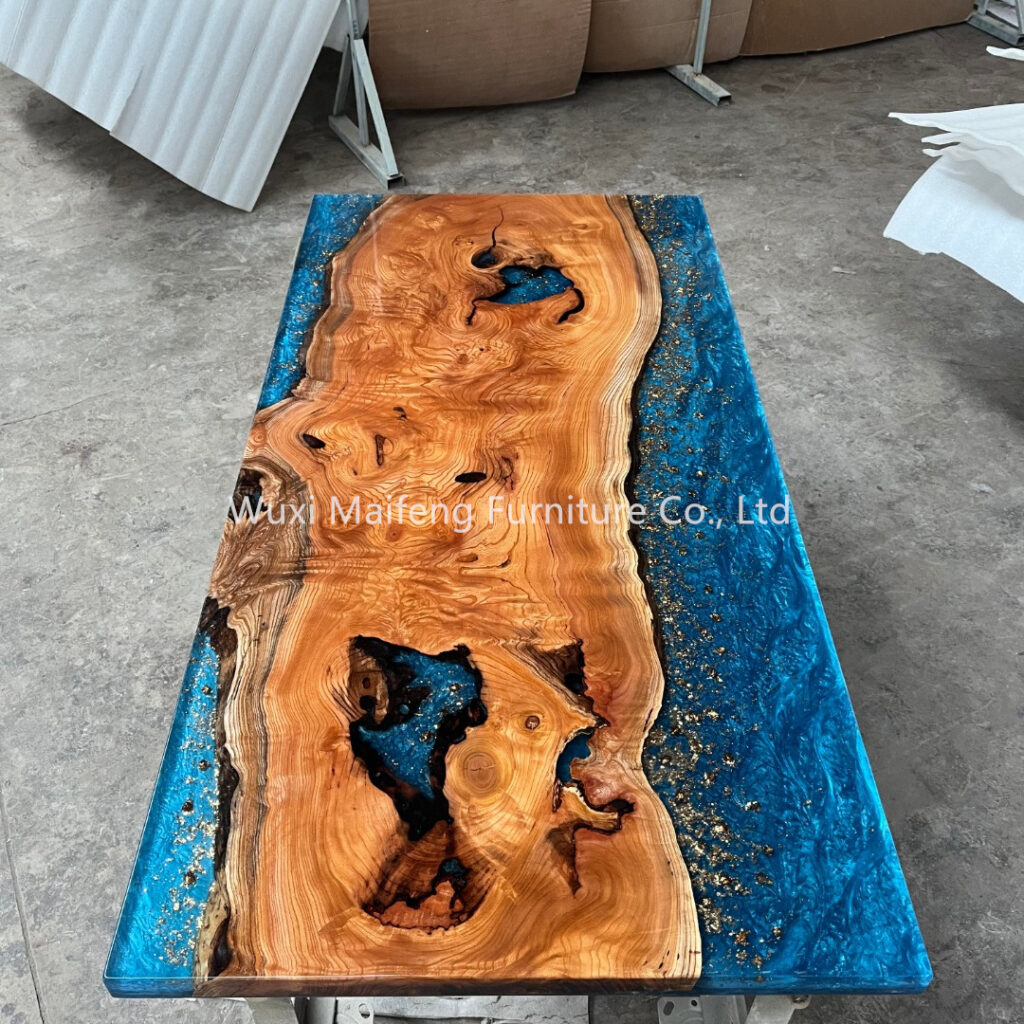
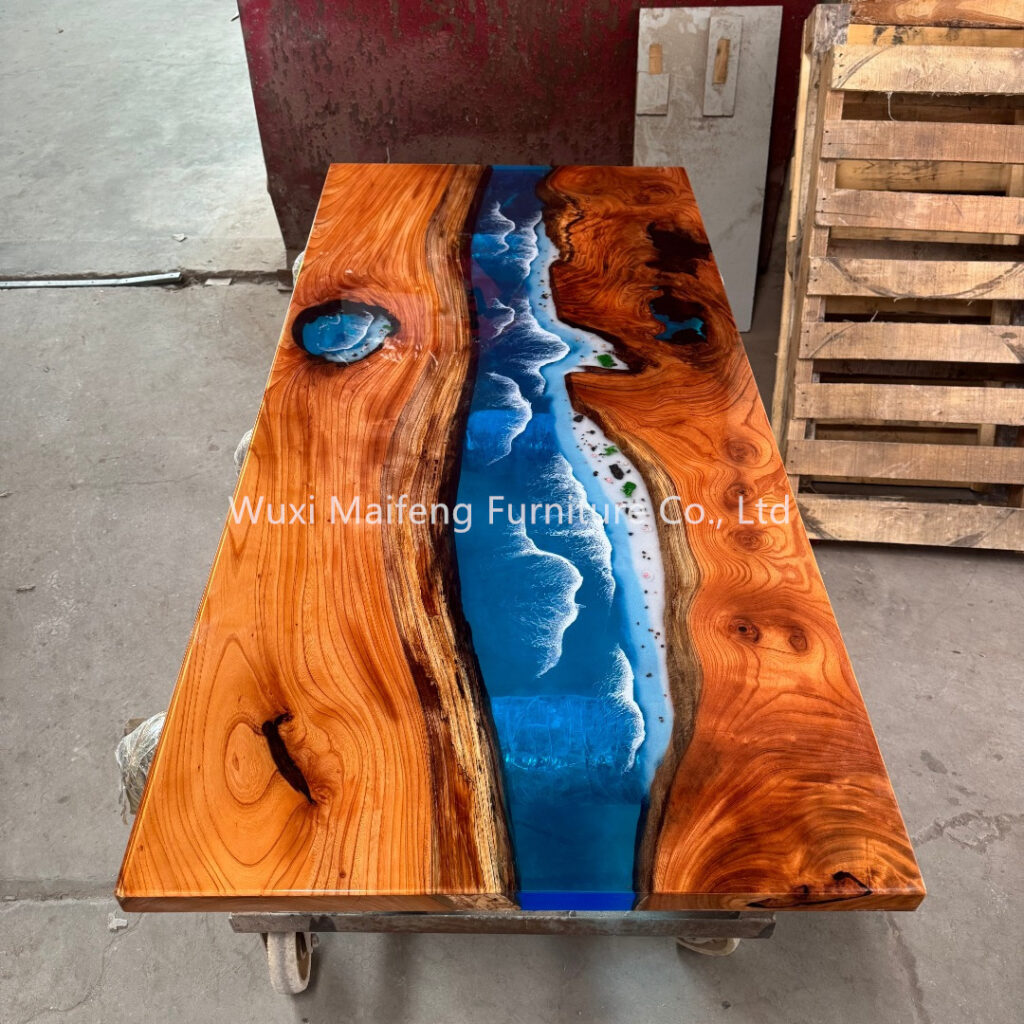
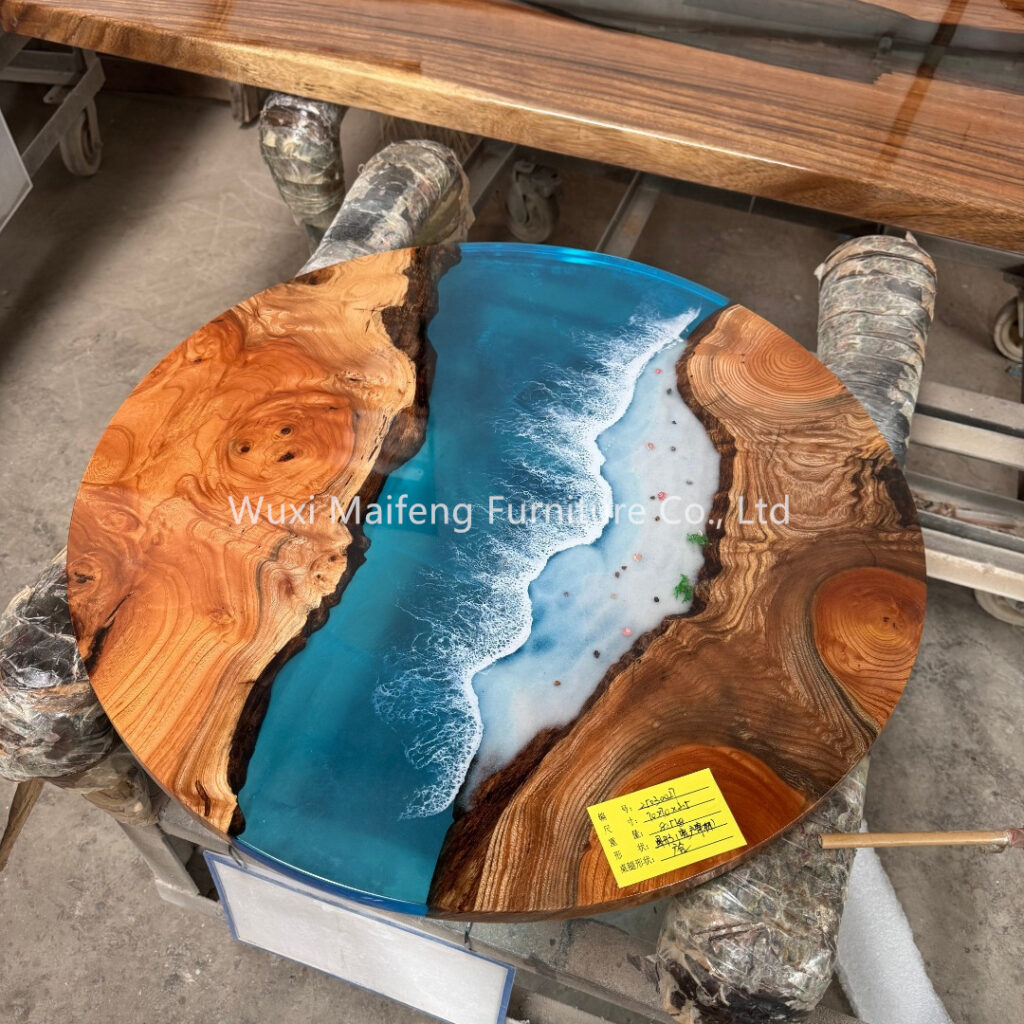
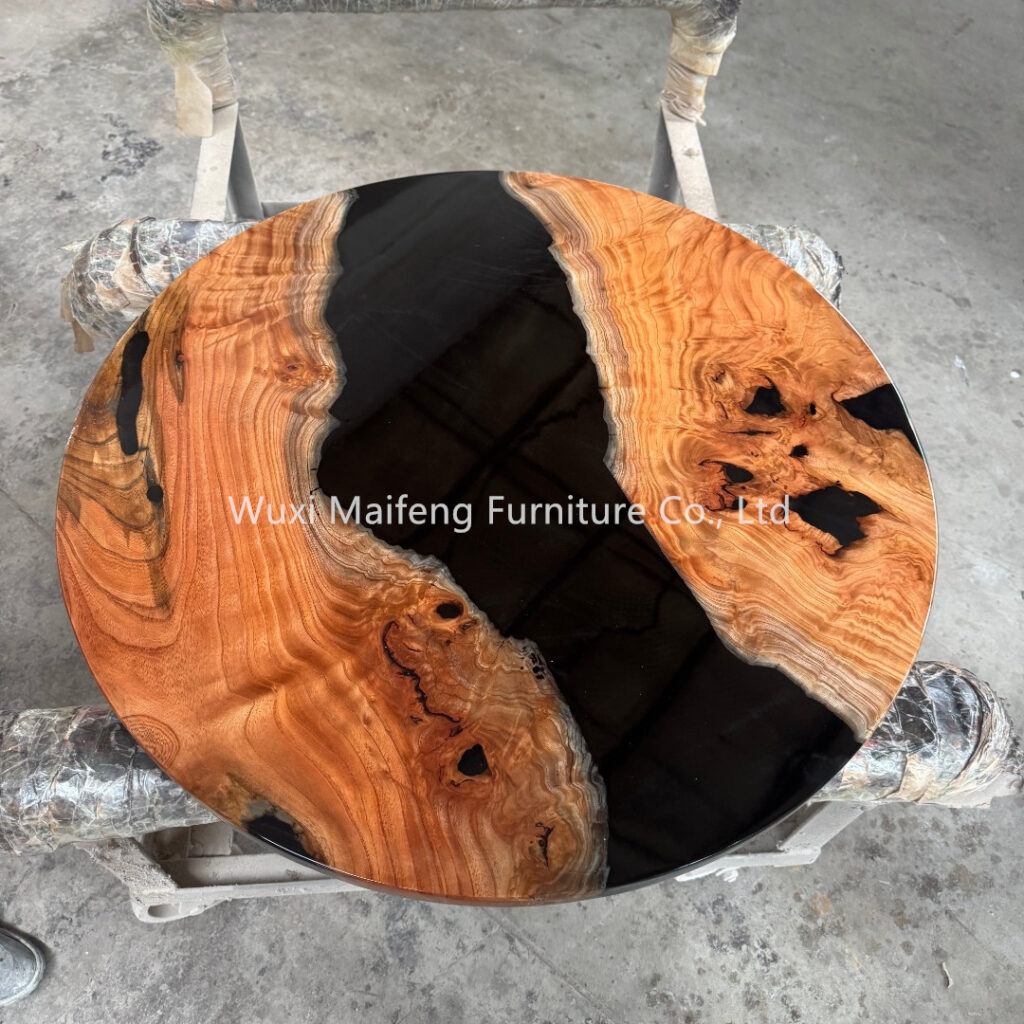
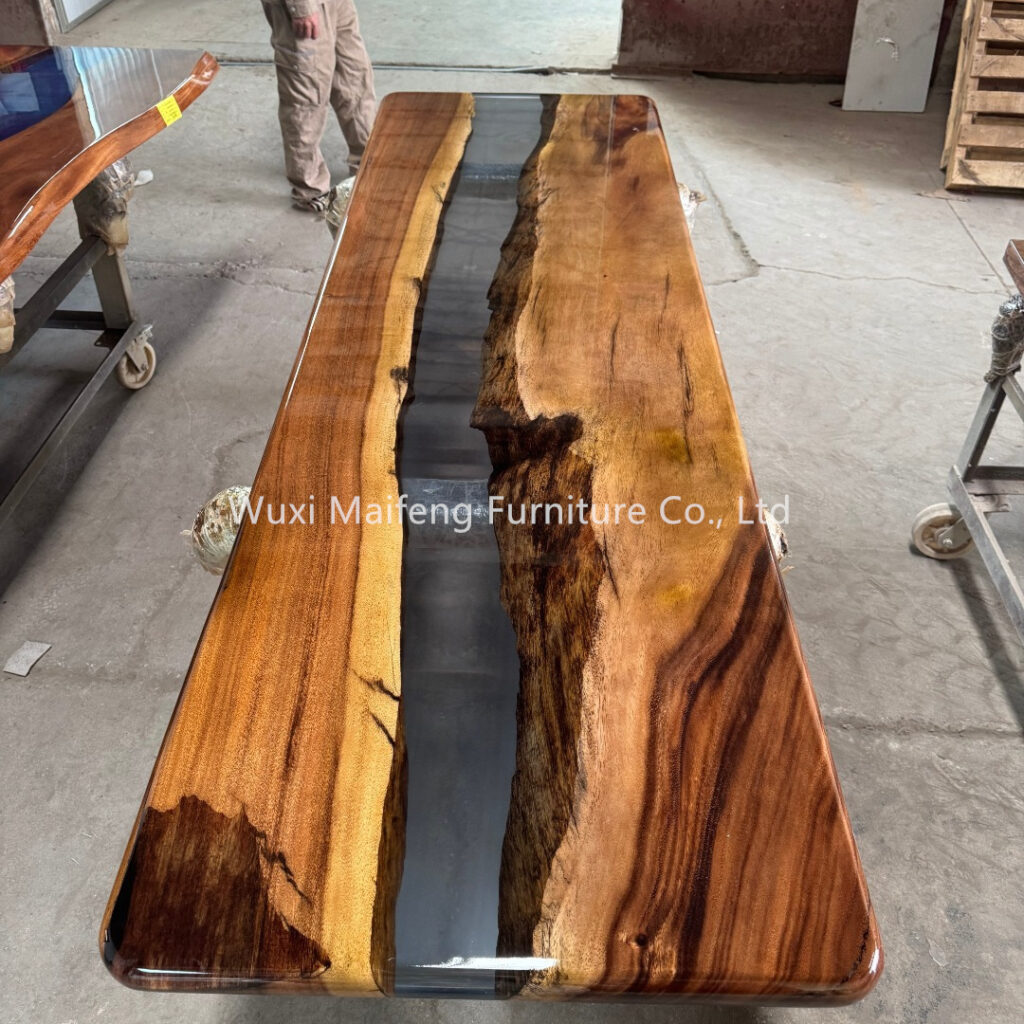
Step 1: Material Preparation
First and foremost, we need high – quality transparent epoxy resin. This resin is a crucial component as it determines the final appearance and durability of the table. We carefully select resins with excellent optical clarity, low viscosity (which helps in easy pouring and bubble – free casting), and strong mechanical properties. Along with the resin, a hardener is also required. The ratio of resin to hardener must be precisely measured according to the manufacturer’s instructions, usually around 1:1 or 2:1, depending on the type of resin.
Step 2: Design and Molding
Before starting the actual production, a design concept is developed. This could range from a simple, minimalist tabletop to a more intricate design with embedded objects. A mold is then created based on the design. The mold can be made of various materials such as silicone, fiberglass, or even wood, depending on the complexity of the shape and the production volume. If the table is to have a specific edge profile or a unique shape, the mold is crafted to replicate those details accurately.
Step 3: Pouring the Resin
Once the mold is ready and the resin – hardener mixture is prepared, it’s time for the pouring process. The mixture is slowly and carefully poured into the mold. To ensure a smooth surface and to minimize the formation of air bubbles, the pouring is done in a controlled environment. If any bubbles do form during pouring, we can use a heat gun or a vacuum chamber to remove them. The heat gun gently heats the surface of the resin, causing the bubbles to rise and burst, while the vacuum chamber sucks out the air bubbles by creating a low – pressure environment.
Step 4: Embedding Objects (Optional)
If the design calls for it, this is the stage where we can embed various objects into the resin. It could be anything from dried flowers, colorful stones, or even small pieces of metal. These embedded objects not only add a unique aesthetic touch but also make each table one – of – a – kind. The objects are carefully placed in the resin at the desired depth and position before the resin starts to cure.
Step 5: Curing Process
After pouring and embedding (if applicable), the resin – filled mold is left to cure. The curing time can vary depending on the type of resin, the temperature, and humidity of the environment. Generally, it takes anywhere from 24 to 48 hours for the resin to fully cure at room temperature. Higher temperatures can speed up the curing process, but it’s important to control the temperature carefully to avoid any defects such as cracking or yellowing of the resin.
Step 6: Demolding and Finishing
Once the resin is fully cured, the table is carefully removed from the mold. At this stage, the surface may still have some imperfections or a rough texture. To achieve a smooth, glass – like finish, the tabletop undergoes a series of sanding and polishing processes. We start with coarse – grit sandpaper to remove any large bumps or excess resin, and then gradually move to finer – grit sandpapers. Finally, a polishing compound is used to give the tabletop its high – gloss, transparent finish.
Step 7: Assembly (if applicable)
If the table has legs or other components, this is the stage where they are assembled. The legs are usually attached to the tabletop using screws, bolts, or other appropriate fastening methods. The assembly is done carefully to ensure that the table is stable and level.
#EpoxyResin #TableMaking #DIYFurniture #TransparentMaterials
 |
 |
 |
 |
 |
 |


