Materials Needed:
• Wood slab (preferably with interesting grain patterns)
• Epoxy resin
• Hardener
• Measuring cups
• Stir sticks
• Heat gun or hair dryer
• Sandpaper (various grits)
• Protective gloves and eyewear
• Drop cloth or plastic sheeting
Steps:
1. Prepare the Wood Slab
• Inspect the wood slab for any cracks or imperfections. Fill in small cracks with wood filler if necessary.
• Sand the wood slab using progressively finer grits of sandpaper. Start with a coarse grit to remove any rough spots and then move to a medium and finally a fine grit for a smooth finish.
2. Set Up the Workspace
• Lay down a drop cloth or plastic sheeting to protect your work area.
• Wear protective gloves and eyewear to ensure safety.
3. Mix the Epoxy Resin
• Follow the manufacturer’s instructions to mix the epoxy resin and hardener in the correct proportions. Use measuring cups to be precise.
• Stir the mixture thoroughly for several minutes until it is completely homogeneous.
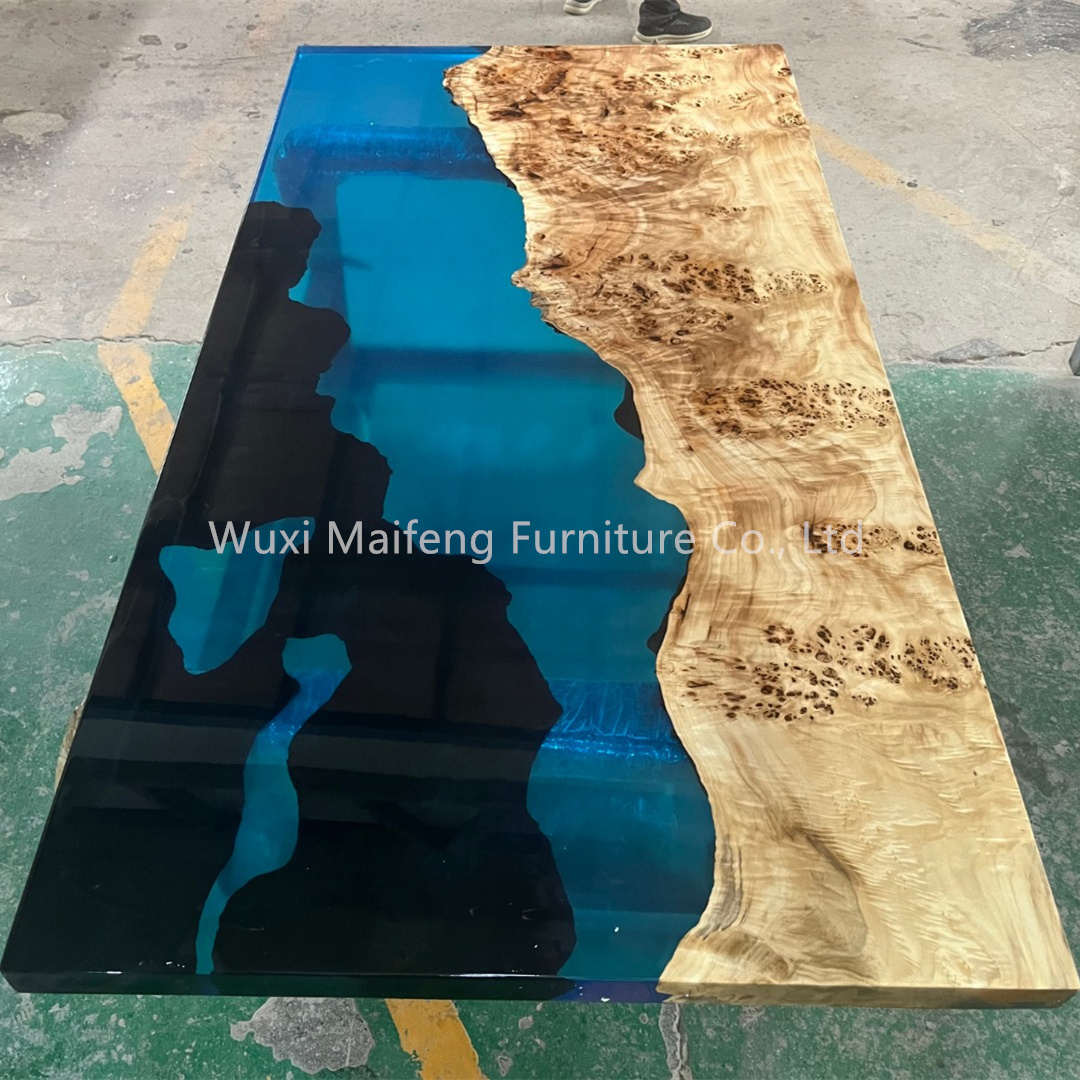
4. Pour the Epoxy Resin
• Carefully pour the epoxy resin mixture onto the wood slab. Spread it evenly using a stir stick or a gloved hand.
• Make sure to cover the entire surface of the wood slab.
5. Remove Bubbles
• Use a heat gun or hair dryer on a low setting to gently blow over the epoxy resin to remove any bubbles that may have formed.
6. Cure the Epoxy Resin
• Allow the epoxy resin to cure undisturbed for the recommended time. This can take several days depending on the type of epoxy resin used.
7. Sand and Finish
• Once the epoxy resin is fully cured, sand the surface lightly with fine-grit sandpaper to smooth out any imperfections.
• You can then apply a finish such as a wax or polyurethane to protect the surface and enhance its shine.
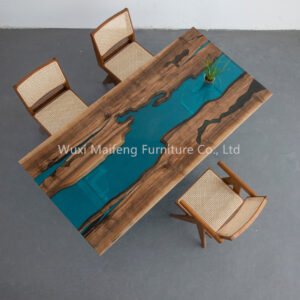
With patience and attention to detail, you can create a stunning epoxy resin dining table that will be the centerpiece of your home. Happy crafting!